
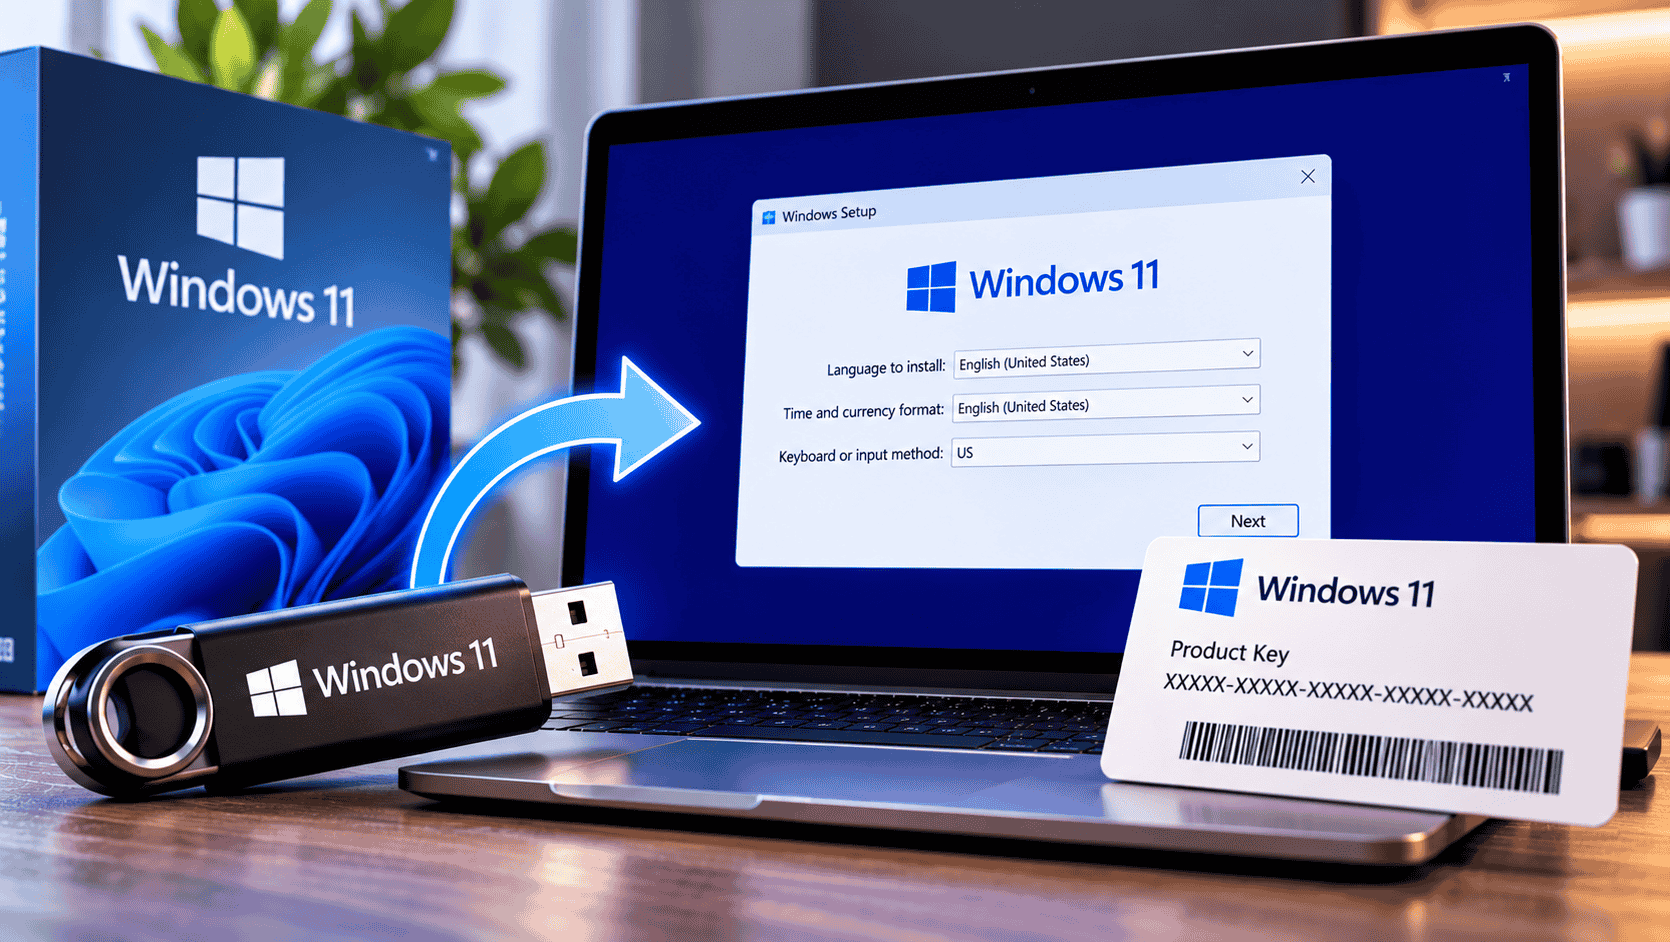
Back up your files, then use Microsoft’s Media Creation Tool to make a bootable USB drive of at least 8 GB. Boot the PC from the USB with its boot menu key, choose Install Windows 11, type your 25-character product key on the Activate Windows screen, delete the partitions on the drive and select Install. Afterwards, check Settings › System › Activation. Allow about an hour.
A clean install wipes the drive and puts a fresh copy of Windows 11 on it, with none of the old files, apps or clutter. It’s the best fix for a slow or unstable PC, the right way to set up a new build, and the cleanest way to start over with a new product key.
This guide shows you how to clean install Windows 11 from USB with a product key, from preparing the PC to confirming activation. You’ll see what each screen looks like in the current Windows 11 version 26H2, the boot menu key for your PC brand, and fixes for the errors that most often stop an install.
Before You Start: What You Need
Back up everything you want to keep
A clean install erases the drive completely. Copy these to an external drive or cloud storage first:
- Documents, Desktop, Pictures, Videos, Music and Downloads folders.
- Browser bookmarks and saved passwords (turn on your browser’s sync, or export them).
- Email data stored on the PC, such as Outlook .pst files.
- Product keys and installers for other software you’ll need again.
- Your Wi-Fi password, so you can reconnect during setup.
Check Your PC Can Run Windows 11
Windows 11 has stricter hardware requirements than Windows 10, and they haven’t changed in version 26H2. Here’s each requirement from Microsoft’s Windows 11 specifications, and how to check it on your PC:
tpm.mscmsinfo32dxdiagIf tpm.msc says no TPM was found, or Secure Boot shows as off, the features are often just disabled in the BIOS. Look for Intel PTT, AMD fTPM or Security Device, and Secure Boot, and turn them on. Microsoft warns that installing Windows 11 on a PC that doesn’t meet the requirements can cause compatibility problems and may stop it receiving updates.
Which Product Key You Need (and When to Enter It)
The Windows 11 USB installer contains every edition, and your product key decides which one is installed. How you handle the key screen depends on your situation:
- Match the edition. A Windows 11 Pro key installs Pro; a Home key installs Home. You can’t activate Pro with a Home key.
- Windows 10 keys work. A genuine Windows 10 Home or Pro key activates the same edition of Windows 11.
- Moving a key from another PC? Make sure it’s a retail key. Our guide on how to check if your Windows key is OEM or Retail takes ten seconds.
Step 1: Create a Windows 11 Bootable USB
Microsoft’s free Media Creation Tool downloads Windows 11 and makes your USB drive bootable in one go. On a working Windows PC:
- Go to Microsoft’s Download Windows 11 page. Under Create Windows 11 Installation Media, select Download Now.
- Plug in your USB drive (8 GB or more). Anything on it will be erased.
- Run MediaCreationToolW11.exe, select Yes when Windows asks for permission, and accept the licence terms.
- Check the language and edition. Untick Use the recommended options for this PC if you’re making the USB for a different computer. Select Next.
- Choose USB flash drive, then select your drive from the list.
- Wait while the tool downloads Windows 11 and builds the drive, then select Finish.
The download is several gigabytes, so this usually takes 20 to 30 minutes. When it’s finished, the drive works on any compatible 64-bit PC.
Step 2: Boot Your PC From the USB
Plug the USB drive into the PC you’re installing Windows 11 on, then restart it. As soon as the screen goes dark, tap the boot menu key repeatedly until a menu like this appears, then choose the USB drive:
If you see Press any key to boot from CD or DVD, press a key straight away. If the PC starts your old Windows instead, restart and tap the key earlier.
Can’t time the key? Use Advanced startup
On a PC that still starts Windows, go to Settings › System › Recovery › Advanced startup › Restart now, choose Use a device, then select the USB drive.
Step 3: Install Windows 11
Windows 11 version 24H2 introduced a redesigned installer, which version 26H2 still uses. The first two screens ask for your language and keyboard layout. Then you’ll reach the two screens that matter most:
After the product key, the installer continues with these screens:
How to wipe the drive
This is the step that makes it a clean install. On the drive you’re installing to, usually Disk 0, select each partition and choose Delete partition until only unallocated space is left:
| Name | Total size | Type |
|---|---|---|
| Disk 0 Partition 1: System | 100 MB | System |
| Disk 0 Partition 2 | 16 MB | MSR (Reserved) |
| Disk 0 Partition 3 | 475.5 GB | Primary |
| Disk 0 Partition 4 | 750 MB | Recovery |
| Name | Total size | Type |
|---|---|---|
| Disk 0 Unallocated Space | 476.9 GB | Unallocated |
Step 4: Complete First-Time Setup
After the PC restarts a few times, Windows 11 walks you through setup. Remove the USB drive now so the PC doesn’t boot back into the installer.
Do you have to use a Microsoft account?
For Windows 11 Home and Pro set up for personal use, Microsoft requires a Microsoft account and an internet connection during setup. Over the past two years Microsoft has blocked the well-known workarounds one by one. The latest change, in October 2026, removed a shortcut on the sign-in screen of updated Windows 11 26H2 media, so tricks you read about online may no longer work.
If you prefer a local account, you can switch after setup in Settings › Accounts › Your info by choosing Sign in with a local account instead. Keep in mind that a Microsoft account links your Windows licence to it, which makes reactivating much easier after a future hardware change.
Step 5: Confirm Windows 11 Is Activated
Once you reach the desktop, go to Settings › System › Activation. A successful activation looks like this:
You can also confirm from Command Prompt. A window saying The machine is permanently activated means you’re done:
slmgr /xprStep 6: What to Do After Installing
- Run Windows Update in Settings › Windows Update until nothing new appears.
- Install optional driver updates under Windows Update › Advanced options › Optional updates.
- Download drivers from your manufacturer for the chipset, graphics, audio and Wi-Fi.
- Save your BitLocker recovery key. Windows 11 may turn on device encryption automatically. Find the key at account.microsoft.com under Devices, then Recovery keys.
- Restore your files from your backup.
- Reinstall your apps, including Microsoft Office. If Office won’t accept its key, see Office 2024 key not working: 7 fixes.
- Create a restore point while everything is fresh.
Troubleshooting Common Problems
slui 4.Need a Windows 11 Product Key?
Building a new PC, or is your old key OEM and tied to another computer? You’ll need a new licence. Noxkeys delivers genuine retail keys instantly by email, with download and activation instructions.

Setting up Office on your fresh install too? See Office 2024 Professional Plus. Browse all Windows licences, read our FAQ, or contact support if you get stuck. More guides are on the Noxkeys blog.
Frequently Asked Questions
Do I need a product key to clean install Windows 11?
Not to install it, but you need one to activate it. If Windows 11 was already activated on the PC, choose I don’t have a product key and it reactivates automatically. On a new PC or build, enter your key during setup or afterwards in Settings.
Where do I enter the product key during a Windows 11 clean install?
On the Activate Windows screen, which appears after you choose Install Windows 11. You can also skip it and enter the key later in Settings › System › Activation › Change product key.
Can I use a Windows 10 product key to install Windows 11?
Yes. A genuine Windows 10 Home or Pro key activates the same edition of Windows 11.
How big does the USB drive need to be?
At least 8 GB. The Media Creation Tool erases everything on it, so use an empty drive.
Will a clean install delete everything?
Yes. Deleting the partitions erases all files, apps and settings on that drive. Back up everything you want to keep first.
How long does a Windows 11 clean install take?
About an hour in total: 20 to 30 minutes to create the USB, 20 to 40 minutes to install, and around 15 minutes for first-time setup.
Can I clean install Windows 11 without a Microsoft account?
Windows 11 Home and Pro setup for personal use requires a Microsoft account, and Microsoft has blocked most workarounds. You can switch to a local account after setup in Settings › Accounts › Your info.
Why did Windows install Home when I have a Pro key?
Your PC probably has a Windows 11 Home key built into its firmware, which setup uses automatically. Enter your Pro key in Settings › System › Activation › Change product key to upgrade without reinstalling.
Which version of Windows 11 does the Media Creation Tool install?
The latest release, currently Windows 11 version 26H2, also called the Windows 11 2026 Update.