
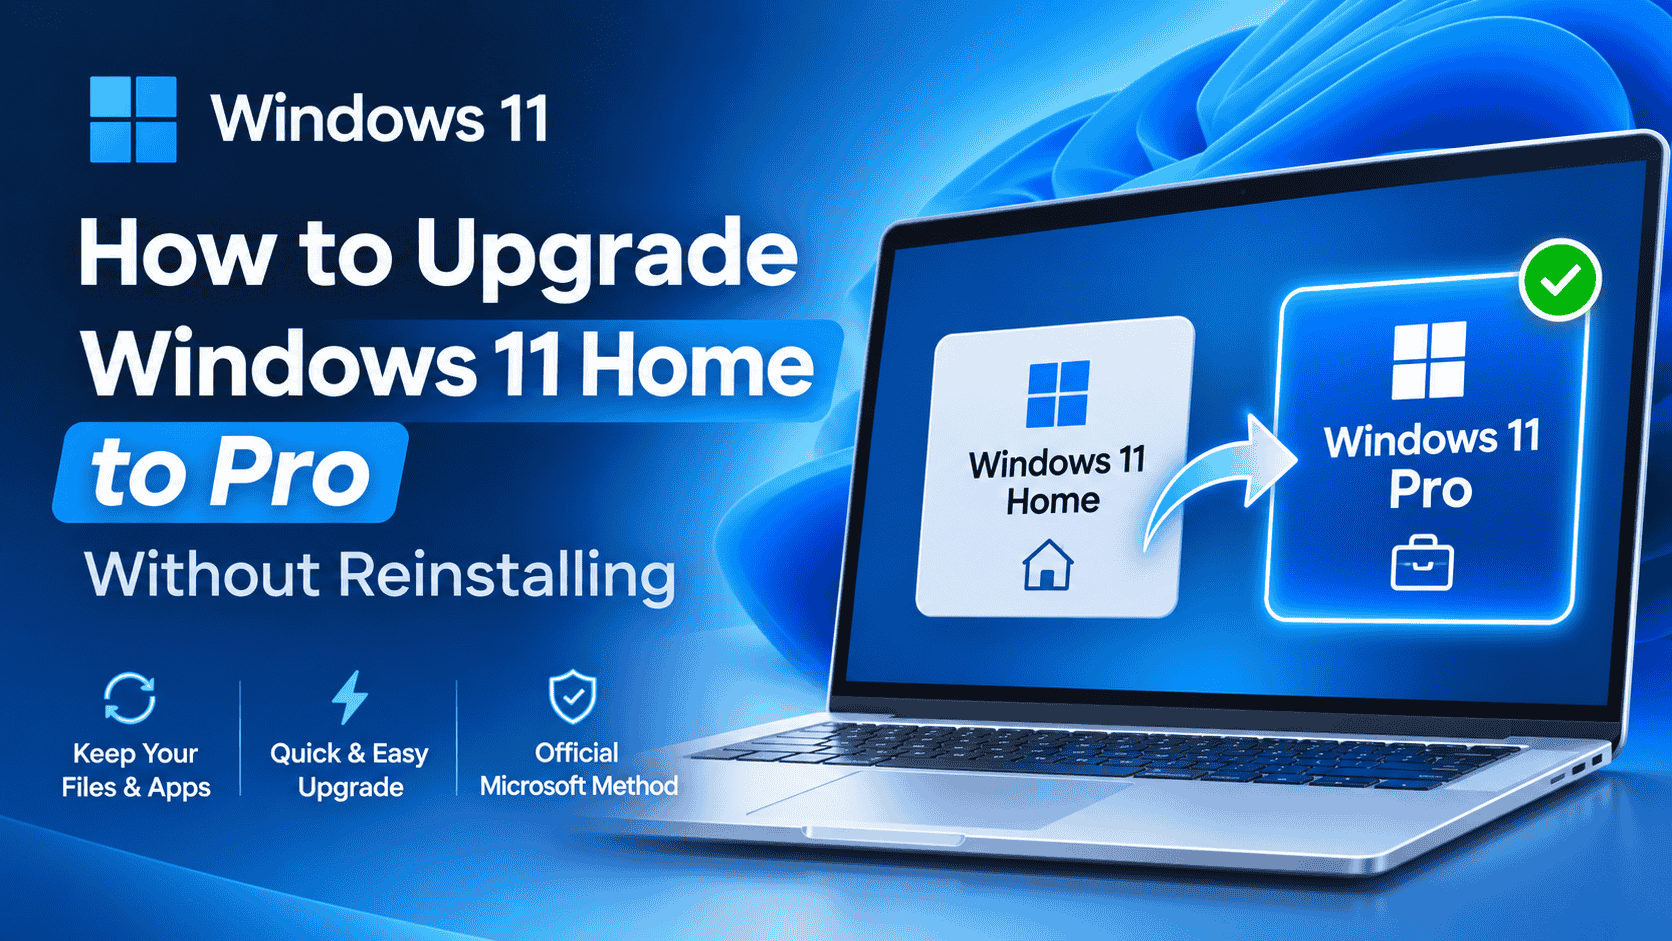
Quick answer
You can upgrade Windows 11 Home to Pro in place, without reinstalling or losing files. Go to Settings › System › Activation, open Upgrade your edition of Windows, select Change next to Change product key, enter a Windows 11 Pro key and select Start. The PC restarts a couple of times and comes back as Windows 11 Pro with your apps, files and settings intact. No key? Buy the upgrade through Open Store in the same place. If the upgrade won’t start, switch the edition with Microsoft’s generic Pro key first, then activate with your own key.
In this guide
- Before you start: 3 quick checks
- Which upgrade method should you use?
- Method 1: Upgrade with a Pro product key
- Method 2: Buy the upgrade in the Microsoft Store
- Method 3: Upgrade from the command line
- What stays the same after upgrading
- Home Single Language and other special cases
- After the upgrade: confirm it worked
- If the upgrade doesn’t work
- How much does the upgrade cost?
- FAQ
Most laptops and pre-built PCs ship with Windows 11 Home. That’s fine until you need something only Pro has: Remote Desktop into your work PC, BitLocker on a laptop full of client files, Hyper-V for a test machine, or joining a company domain. At that point, plenty of people assume they’ll need to wipe the PC and install Windows again.
You don’t. Windows 11 Home and Pro are the same operating system with different features switched on. A Pro licence simply unlocks the extra features, so the upgrade happens in place. Your desktop, apps, browser, files and settings are all still there afterwards. On a typical PC the whole process takes 10 to 20 minutes, most of it waiting for restarts.
This guide covers the three ways to do it, the edition that trips most people up (Home Single Language), how to confirm the upgrade worked, and what to do when Windows refuses.
Before You Start: 3 Quick Checks
These take two minutes and prevent nearly every failed upgrade.
1. Check your exact edition
Press Win + R, type winver and press Enter. The window shows Windows 11 Home, Windows 11 Home Single Language or Windows 11 Pro. If it already says Pro, you’re done and there’s nothing to upgrade.
Make a note if it says Home Single Language. That edition often needs an extra step, covered in its own section below.
2. Make sure Home is activated
Open Settings › System › Activation and check that Activation state says Active. Microsoft’s standard upgrade path assumes an activated Home installation. If Home isn’t activated, the upgrade can still work, but use the generic key method in Method 3 instead of Settings.
3. Save your work and back up anything important
The upgrade keeps your files, so this is a precaution rather than a requirement. Close open apps, save documents, and make sure anything you can’t lose is in OneDrive or on an external drive. Leave a laptop plugged in: a battery dying mid-upgrade is the one thing that can genuinely cause problems.
The upgrade asks for admin approval. On a work or family PC where you sign in as a standard user, ask whoever manages the PC to approve the prompt.
Which Upgrade Method Should You Use?
All three methods end in the same place: Windows 11 Pro, activated, with nothing reinstalled. Pick the one that matches what you have.
You already have a Windows 11 or Windows 10 Pro key.
Enter it in Settings. Fastest and cheapest if you’ve bought a retail key.
About 10–20 minutes
You don’t have a key and want Microsoft to handle everything.
Pay in the Store app. The licence is added to your Microsoft account automatically.
About 15–25 minutes
Settings won’t start the upgrade, or Home isn’t activated.
Switch the edition with a generic key, then activate with your own key.
About 15–20 minutes
Method 1: Upgrade Windows 11 Home to Pro With a Product Key
This is the method most people use and the one Microsoft documents in its official Home to Pro guide. You’ll need a 25-character Windows 11 Pro key. A Windows 10 Pro key works too, because Windows 10 and 11 Pro keys are interchangeable.
- Open Settings (Win + I) and go to System › Activation.
- Expand Upgrade your edition of Windows.
- Next to Change product key, select Change. Approve the admin prompt.
- Type or paste your Pro key and select Next.
- Select Start when Windows offers to upgrade your edition.
After you select Start, the screen goes dark and Windows shows a progress percentage while it switches editions. Expect one or two restarts. Don’t shut the PC down during this time, even if it seems stuck at a percentage for a few minutes.
Example: say your home desktop runs Windows 11 Home and you want to reach it from your work laptop with Remote Desktop. Home can’t accept incoming Remote Desktop connections, so the desktop is the PC that needs Pro. You enter a retail Pro key under Change product key, and about 15 minutes later it’s back on the desktop as Windows 11 Pro, with your apps, files and wallpaper untouched. Switch on Remote Desktop under Settings › System › Remote Desktop, and you can connect from the laptop.
Method 2: Buy the Upgrade in the Microsoft Store
If you don’t have a key, Microsoft sells the Home to Pro upgrade directly. The licence is tied to your Microsoft account and this PC, so you never type a key.
- Go to Settings › System › Activation and expand Upgrade your edition of Windows.
- Next to Upgrade in the Microsoft app, select Open Store.
- Sign in with your Microsoft account if asked, then select the price button to buy.
- Follow the prompts to install Pro. The PC restarts to finish.
Microsoft recommends this route because the Store checks your activation for you. The trade-offs are price and portability: the Store upgrade costs Microsoft’s full price, and the resulting digital licence stays with this device. If you replace the motherboard later, you’ll need the hardware change troubleshooter to move it. Our guide to digital licences vs product keys explains the difference in more detail.
Method 3: Upgrade Windows 11 Home to Pro Using CMD
Use this when the Settings route won’t start, keeps failing partway through, or Home isn’t activated. It’s also handy for IT staff upgrading several PCs. You’ll use Microsoft’s public generic Pro key, which switches the edition but never activates Windows, followed by your own key.
Step 1: Confirm the current edition
Right-click the Start button, choose Terminal (Admin), and run:
DISM /Online /Get-CurrentEdition
Windows reports edition names by their internal IDs, which is useful to know:
PS C:\Windows\system32> DISM /Online /Get-CurrentEdition

Deployment Image Servicing and Management tool
Version: 10.0.26100.1150

Image Version: 10.0.26200.7171

Current edition is:

Current Edition : Core  1

The operation completed successfully.
PS C:\Windows\system32>
Step 2: Switch the edition with the generic key
Run this command, then restart when prompted:
changepk.exe /ProductKey VK7JG-NPHTM-C97JM-9MPGT-3V66T
The key above is Microsoft’s published generic key for Windows 11 Pro. It’s on Microsoft’s own documentation and our generic product keys page, so using it is completely legitimate. After the restart, Windows shows Windows 11 Pro but says it isn’t activated. That’s expected.
If changepk does nothing, use slmgr /ipk VK7JG-NPHTM-C97JM-9MPGT-3V66T instead and restart manually. Some users on Microsoft’s Q&A forum report better results disconnecting from the internet during this step, so the edition switch isn’t interrupted by an activation check.
Step 3: Activate with your own Pro key
Reconnect to the internet, then in Terminal (Admin) run:
slmgr /ipk XXXXX-XXXXX-XXXXX-XXXXX-XXXXX
slmgr /ato
Replace the X’s with your Windows 11 Pro key. A message box confirms Product activated successfully. You can also enter the key under Settings › System › Activation › Change product key instead.
- 1Check the edition
DISM /Online /Get-CurrentEditionshould show Core or CoreSingleLanguage. - 2Switch to Pro with the generic key
changepk.exe /ProductKey VK7JG-NPHTM-C97JM-9MPGT-3V66T, then restart. - 3Check it says ProRun
winver. It shows Windows 11 Pro, not activated yet. - 4Install your own key
slmgr /ipkfollowed by your 25-character Pro key. - 5Activate online
slmgr /atowhile connected to the internet.
What Stays the Same and What Changes After Upgrading
Because Home and Pro share the same code, the upgrade only changes the licence and unlocks features. Here’s what to expect.
- Stays the same: your files, installed apps, desktop, browser profiles, Wi-Fi passwords, Microsoft account and Windows version (for example 25H2). Windows Update carries on exactly as before.
- Changes: the edition becomes Windows 11 Pro, and Microsoft’s servers record a Pro digital licence for this PC’s hardware. Pro-only settings such as BitLocker, Remote Desktop and Group Policy become available.
- Doesn’t change: the Home key stored in your laptop’s firmware by the manufacturer. That matters if you ever reinstall.
That last point catches people out a year later. When you reinstall Windows from a USB stick, setup reads the firmware key and silently installs Home again. To get Pro back, choose I don’t have a product key during setup, pick Windows 11 Pro from the edition list, and let the Pro digital licence reactivate it once you’re online. Microsoft explains this behaviour in its guide to installing or upgrading Windows with a product key, and our Windows 11 clean install guide walks through the setup screens.
Home Single Language and Other Special Cases
Windows 11 Home Single Language
Home Single Language is a cheaper Home edition that ships on many laptops sold in India and other markets. It works like normal Home but is locked to one display language. When you enter a Pro key in Settings, the upgrade frequently fails, rolls back, or throws error 0xC004F069.
The reliable fix is Method 3: switch to Pro with the generic key first, restart, then activate with your own key. Microsoft’s community advisors recommend exactly this sequence. Once you’re on Pro, the language lock is gone, so you can add other display languages under Settings › Time & language.
Example: a typical case is a laptop bought in India with Home Single Language that rejects a genuine Pro key in Settings, rolling back partway through each time. Running the generic key with changepk, restarting, and then entering the same Pro key gets it activated.
The PC shows Enterprise after a failed upgrade
Occasionally an interrupted upgrade leaves Windows reporting Enterprise. Don’t buy an Enterprise licence. Run the generic Pro key command from Method 3, restart, and the edition switches back to Pro, ready for your key.
Windows 11 in S mode
If winver says Windows 11 Home in S mode, switch out of S mode first. Go to Settings › System › Activation, find Switch to Windows 11 Home and select Go to the Store. Switching out is free but one-way. After that, upgrade to Pro as normal.
After the Upgrade: Confirm It Worked
Run these three quick checks once the PC is back on the desktop.
- Edition: press Win + R, type
winver. It should say Windows 11 Pro. - Activation: Settings › System › Activation should say Active, and usually Windows is activated with a digital license.
- Pro features: search the Start menu for Manage BitLocker or open Settings › System › Remote Desktop. Both only exist on Pro.
Microsoft Windows
Version 25H2 (OS Build 26200.7171)
© Microsoft Corporation. All rights reserved.
The Windows 11 Pro operating system and its user interface are protected by trademark and other pending or existing intellectual property rights in the United States and other countries/regions.1
This product is licensed under the Microsoft Software License Terms to:
Priya Sharma
Pro features aren’t all switched on by default. Turn on the ones you need:
- Remote Desktop: Settings › System › Remote Desktop, then switch it on.
- BitLocker: search Manage BitLocker and select Turn on BitLocker for your system drive. Save the recovery key to your Microsoft account or print it.
- Hyper-V and Windows Sandbox: search Turn Windows features on or off, tick them, and restart. Your PC needs virtualisation enabled in the BIOS.
- Group Policy: press Win + R and run
gpedit.msc.
Not sure which of these you’ll actually use? Our Windows 11 Home vs Pro comparison goes through each feature and who needs it.
If the Upgrade Doesn’t Work
Most failures fall into a handful of patterns. Find yours below.
“This product key didn’t work” (0xC004F050)
Check the key is for Pro, not Home, and paste it rather than typing. See our 0xC004F050 guide.
Upgrade fails with 0x803FA067
Use the generic key from Method 3. Our 0x803FA067 guide covers this error step by step.
Upgrade rolls back or stalls at a percentage
Install pending Windows updates, restart, then use Method 3. Common on Home Single Language.
Now Pro, but says “not activated”
Expected after the generic key. Enter your own key and run slmgr /ato.
For anything not listed, our guide to fixing a Windows 11 Pro key that’s not working covers eight fixes, from KMS leftovers on ex-work laptops to phone activation. You can also look up any code in our activation error lookup.
How Much Does the Upgrade Cost?
There’s no free official route. The upgrade needs a Windows 11 Pro licence, and you have three ways to get one:
- Microsoft Store upgrade: about $99 in the US, according to Windows Central. Prices vary by country. The licence stays with this PC.
- Retail Pro key from a reseller: usually cheaper, and a retail key can be moved to a new PC later. Check what kind of key you’re buying first: our OEM vs Retail vs MAK vs KMS guide explains the differences.
- An unused Windows 10 Pro key: if you have one from an old PC you no longer use, it upgrades Windows 11 Home to Pro too.
Avoid “free Pro keys” and activator tools. The free keys are generic keys that never activate, and activators are unlicensed and often carry malware. They also leave KMS settings behind that block a genuine key later.
Retail licence · transferable
Windows 11 Professional
Upgrades Home to Pro in place. Instant email delivery with step-by-step instructions.
View Windows 11 ProFrequently Asked Questions
Will I lose my files when I upgrade Windows 11 Home to Pro?
No. The upgrade happens in place, so your files, apps and settings stay exactly where they are. Backing up important files first is still a sensible precaution.
How long does the Windows 11 Home to Pro upgrade take?
Usually 10 to 20 minutes on a modern PC, including one or two restarts. Older PCs with hard drives can take longer. Keep laptops plugged in.
Can I upgrade Windows 11 Home to Pro for free?
Not officially. You need a Windows 11 Pro licence, either from the Microsoft Store or as a product key. The generic Pro key switches the edition but doesn’t activate it.
Can I use a Windows 10 Pro key to upgrade Windows 11 Home?
Yes. A genuine Windows 10 Pro key upgrades Windows 11 Home to Pro, as long as it isn’t still active on another PC.
Do I need to reinstall Windows to upgrade from Home to Pro?
No. Windows 11 switches editions in place. You only need a clean install if the PC has other problems you want to fix at the same time.
Can I go back from Windows 11 Pro to Home?
Not in place. Downgrading from Pro to Home requires a clean install of Windows 11 Home, so back up your files first. Windows 11 Home can usually reactivate automatically from the PC’s original licence.
Will upgrading to Pro make my PC faster?
No. Pro adds business and security features such as BitLocker, Remote Desktop and Hyper-V. Performance is the same as Home.
Why does my upgrade fail on Windows 11 Home Single Language?
Home Single Language often refuses a direct key upgrade. Switch to Pro with the generic key using changepk, restart, then activate with your own Pro key.